Capturing Time: A Beginner’s Guide to Timelapse Photography
Learn how to create beautiful timelapse sequences — from sunrise skies to city lights — using any camera or phone, plus detailed Nikon D750 settings.
- 3 min read
Timelapse photography might look advanced, but it’s surprisingly accessible. Whether you’re shooting with a phone or a DSLR, the principles are the same: patience, stability, and consistent frames.
In this post, you’ll find practical advice for shooting timelapses with any camera or phone, along with specific settings for Nikon full-frame users.
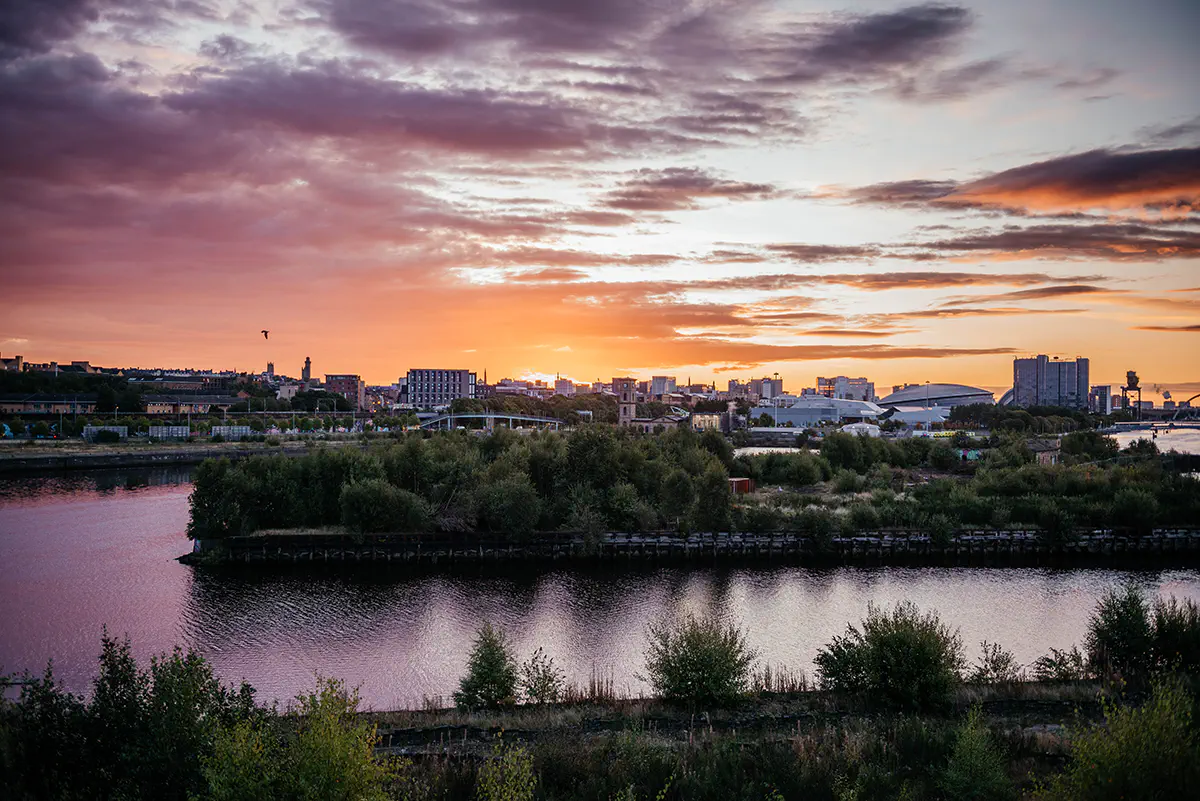
This timelapse of sunrise in Glasgow was captured on a Nikon D750 with a Nikkor 24–70mm f/2.8G, mounted on a tripod. I processed the images in Lightroom, created the sequence with Time Lapse Creator, and added music in CapCut — both simple tools ideal for beginners.
General Recommendations (Any Camera or Phone)
1. Stabilize Your Camera
Use a tripod or place your phone/camera on a stable surface. Even slight movements will ruin the sequence.
2. Choose Your Subject
Look for scenes with movement over time — drifting clouds, rising/setting sun, bustling streets, or tides.
3. Interval & Duration
- For skies (sunrise/sunset): 2–5 seconds between shots.
- For city streets: 1–2 seconds.
- For fast motion (cars, crowds): 0.5–1 second.
Record long enough to capture change — 20–30 minutes minimum for natural light shifts.
4. Exposure & Focus
- Use manual exposure if possible to avoid flicker.
- Lock focus (tap to focus on phones).
- Keep white balance fixed (e.g., daylight).
5. Battery & Storage
Timelapses are resource-heavy. Use a full battery (or external power) and plenty of storage space.
6. Post-Processing
Import into software (Lightroom, LRTimelapse, or free apps like Time Lapse Creator, or more advanced DaVinci Resolve / iMovie). Adjust exposure and color, then export as a video. For simple finishing touches like adding music or trimming, easy editors such as CapCut work perfectly.
Nikon Full-Frame Cameras (D750 Example)
If you shoot with a DSLR like the Nikon D750, you gain full control over exposure, intervals, and quality.
1. Setup
- Tripod essential.
- Fully charged battery or battery grip.
- Fast, high-capacity SD card.
2. Camera Settings
- Mode: Manual (M)
- Aperture: f/8–f/11 for landscapes.
- ISO: 100–200.
- Shutter: 1/30–1/125 sec (adjust to scene brightness).
- White Balance: Daylight/Cloudy (not Auto).
- Focus: Manual (pre-focus, then switch AF off).
3. Interval Timer Shooting (built-in)
- Menu → Shooting Menu → Interval Timer Shooting.
- Set interval (e.g., 3 seconds).
- Set number of shots (e.g., 600 shots = ~30 seconds video at 24fps).
4. Exposure Smoothing
Enable Exposure Smoothing to minimize flicker in changing light (especially useful at sunrise/sunset).
5. RAW vs JPEG
- RAW: More flexibility for editing (bigger files).
- JPEG: Smaller, faster, fine if not doing heavy editing.
6. Assembly
Import into Lightroom/Photoshop, batch-correct exposure/color, then export as JPEG sequence and compile into video.
Field Tips
- Arrive Early: Set up before the event starts (especially for sunrise).
- Test First: Take a few trial shots to confirm exposure and focus.
- Be Patient: Timelapses demand time; bring a coffee. ☕
- Mind the Motion: Even slow changes — like tree shadows — can look stunning in timelapse.
Final Thoughts
Timelapse is less about technical perfection and more about patience and planning. Whether you’re using a phone app or a Nikon DSLR, the magic lies in compressing time and revealing movement we rarely notice. My Glasgow sunrise timelapse taught me that the best part of the process isn’t just the final video — it’s slowing down enough to watch time itself unfold.
In my next post, I’ll share a timelapse I created on a mobile phone — a reminder that you don’t need advanced gear to capture the passage of time. Stay tuned!